I’ve been making this apricot ice cream all summer, and I’m honestly obsessed with how the fresh apricots create such a bright, fruity flavor that’s miles better than anything store-bought. A little squeeze of lemon juice keeps everything balanced and prevents it from being too sweet, while the cream base makes it super smooth and scoopable. Trust me, if you’ve got ripe apricots sitting on your counter, this is the recipe you need to try!
| Preparation Time | 30-40 minutes |
| Cooking Time | 105-120 minutes |
| Total Time | 240-300 minutes |
| Level of Difficulty | Medium |
| Servings | 8 servings |
Estimated Nutrition
Estimated nutrition for the whole recipe (without optional ingredients):
- Calories: 1700-1850
- Protein: 10-13 g
- Fat: 110-120 g
- Carbohydrates: 185-200 g
Ingredients
For the apricot base:
- 1 lb apricots (pitted and sliced into 1/2-inch wedges)
- 1 cup sugar
- 1/4 tsp salt
- 2 tsp lemon juice (freshly squeezed to balance the sweetness)
- 1 tbsp honey (to prevent ice crystals)
For the cream mixture:
- 2 cups heavy cream (I prefer using Horizon Organic for a richer mouthfeel)
- 1/4 cup half and half
- 1/4 cup milk
- 2 tsp vanilla (I always use Nielsen-Massey Madagascar Bourbon vanilla)
- 1/4 tsp almond extract
Step 1: Prepare the Apricot Syrup Base
- 1 lb apricots
- 1 cup sugar
- 1/4 tsp salt
- 2 tsp lemon juice
Combine the pitted and sliced apricots, sugar, salt, and lemon juice in a medium saucepan over medium heat.
Stir occasionally as the mixture comes to a simmer, then reduce heat to medium-low and let it cook for 15-20 minutes until the apricots break down completely and the liquid becomes thick and syrupy.
The lemon juice balances the sweetness while the extended cooking allows the apricot flavor to concentrate and intensify.
Once the mixture looks glossy and the apricots are very soft, remove from heat and let it cool to room temperature—this takes about 30-45 minutes.
Step 2: Chill the Ice Cream Maker Bowl
While the apricot syrup cools, freeze your ice cream maker bowl according to the manufacturer's instructions (typically 24 hours).
This step is critical for proper churning, as the cold bowl will freeze the ice cream base as the machine agitates it.
I like to keep mine in the back of the freezer where it stays undisturbed and maintains the coldest temperature.
Step 3: Blend the Apricot Syrup and Create the Custard Base
- pureed apricot syrup from Step 1
- 2 cups heavy cream
- 1/4 cup half and half
- 1/4 cup milk
- 1 tbsp honey
- 2 tsp vanilla
- 1/4 tsp almond extract
Once the apricot syrup has cooled completely, carefully pour it into a blender and puree until completely smooth—this creates a silky texture and ensures even distribution of apricot flavor throughout the ice cream.
Pour the pureed apricot syrup into a large mixing bowl, then add the heavy cream, half and half, milk, honey, vanilla, and almond extract.
The honey is crucial here as it prevents large ice crystals from forming during freezing.
Whisk everything together until well combined and the honey is fully dissolved into the mixture.
Chill this custard base in the refrigerator for at least 30 minutes (or up to a few hours) before churning—a cold base churns more efficiently and produces better texture.
Step 4: Churn the Ice Cream
- chilled custard base from Step 3
Remove the chilled custard base from the refrigerator and pour it into your cold ice cream maker bowl.
Churn according to the manufacturer's instructions, typically 15-20 minutes, until the mixture reaches a soft-serve consistency with a thick, creamy texture.
The churning incorporates air into the base while simultaneously freezing it, creating that smooth, scoopable texture.
Watch for the moment when the mixture stops looking liquid and holds a shape—this signals it's ready.
Step 5: Final Freeze and Serve
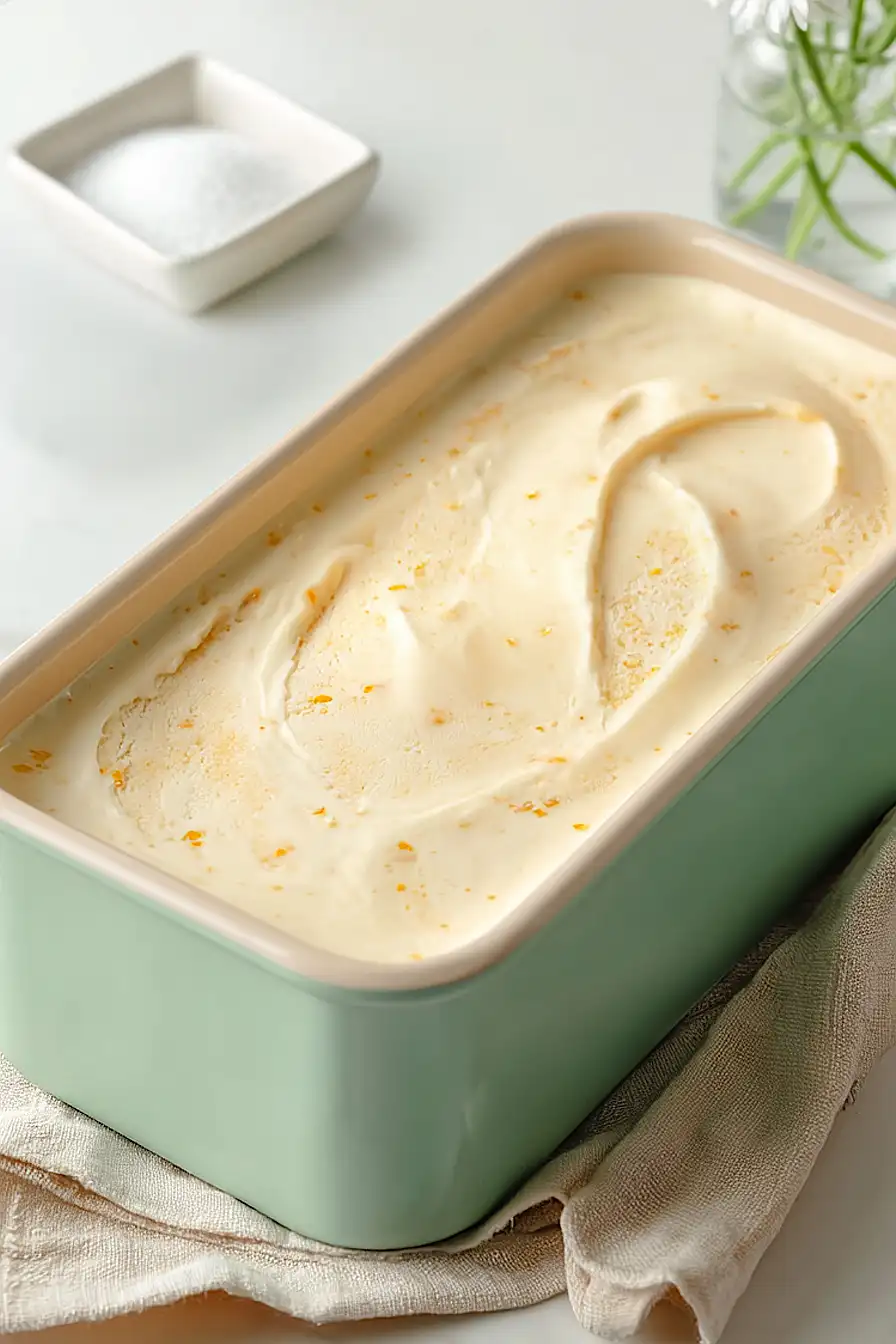
Transfer the churned ice cream from the machine into a freezer-safe container or loaf pan, smoothing the top gently with a spatula.
Cover with plastic wrap or a fitted lid to prevent freezer burn and ice crystal formation.
Place in the freezer for at least 4 hours (or overnight) until firm enough to scoop.
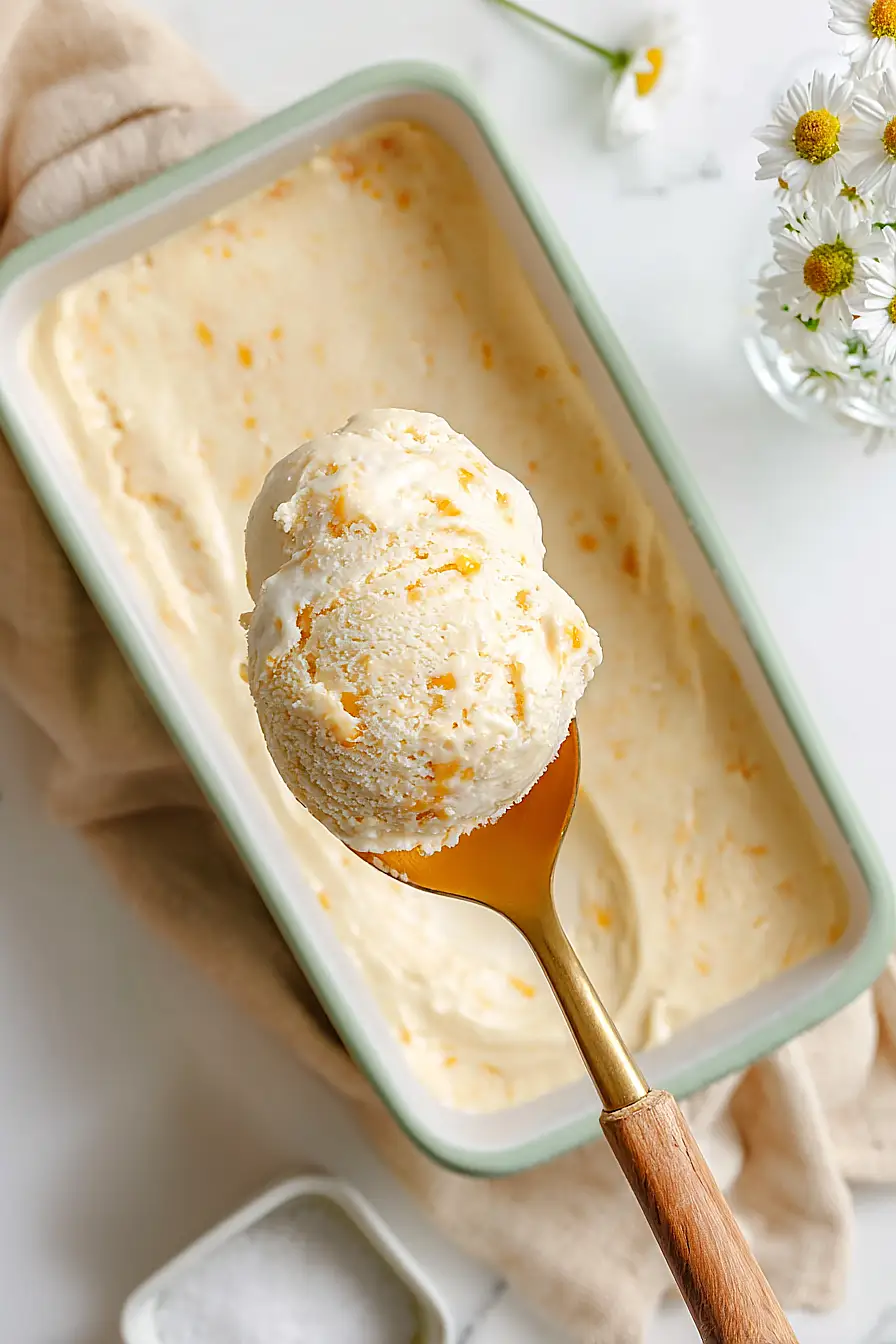
The texture will continue to set as it hardens, giving you the perfect consistency for serving.
Homemade Apricot Ice Cream
Ingredients
Method
- Combine the pitted and sliced apricots, sugar, salt, and lemon juice in a medium saucepan over medium heat. Stir occasionally as the mixture comes to a simmer, then reduce heat to medium-low and let it cook for 15-20 minutes until the apricots break down completely and the liquid becomes thick and syrupy. The lemon juice balances the sweetness while the extended cooking allows the apricot flavor to concentrate and intensify. Once the mixture looks glossy and the apricots are very soft, remove from heat and let it cool to room temperature—this takes about 30-45 minutes.
- While the apricot syrup cools, freeze your ice cream maker bowl according to the manufacturer's instructions (typically 24 hours). This step is critical for proper churning, as the cold bowl will freeze the ice cream base as the machine agitates it. I like to keep mine in the back of the freezer where it stays undisturbed and maintains the coldest temperature.
- Once the apricot syrup has cooled completely, carefully pour it into a blender and puree until completely smooth—this creates a silky texture and ensures even distribution of apricot flavor throughout the ice cream. Pour the pureed apricot syrup into a large mixing bowl, then add the heavy cream, half and half, milk, honey, vanilla, and almond extract. The honey is crucial here as it prevents large ice crystals from forming during freezing. Whisk everything together until well combined and the honey is fully dissolved into the mixture. Chill this custard base in the refrigerator for at least 30 minutes (or up to a few hours) before churning—a cold base churns more efficiently and produces better texture.
- Remove the chilled custard base from the refrigerator and pour it into your cold ice cream maker bowl. Churn according to the manufacturer's instructions, typically 15-20 minutes, until the mixture reaches a soft-serve consistency with a thick, creamy texture. The churning incorporates air into the base while simultaneously freezing it, creating that smooth, scoopable texture. Watch for the moment when the mixture stops looking liquid and holds a shape—this signals it's ready.
- Transfer the churned ice cream from the machine into a freezer-safe container or loaf pan, smoothing the top gently with a spatula. Cover with plastic wrap or a fitted lid to prevent freezer burn and ice crystal formation. Place in the freezer for at least 4 hours (or overnight) until firm enough to scoop. The texture will continue to set as it hardens, giving you the perfect consistency for serving.